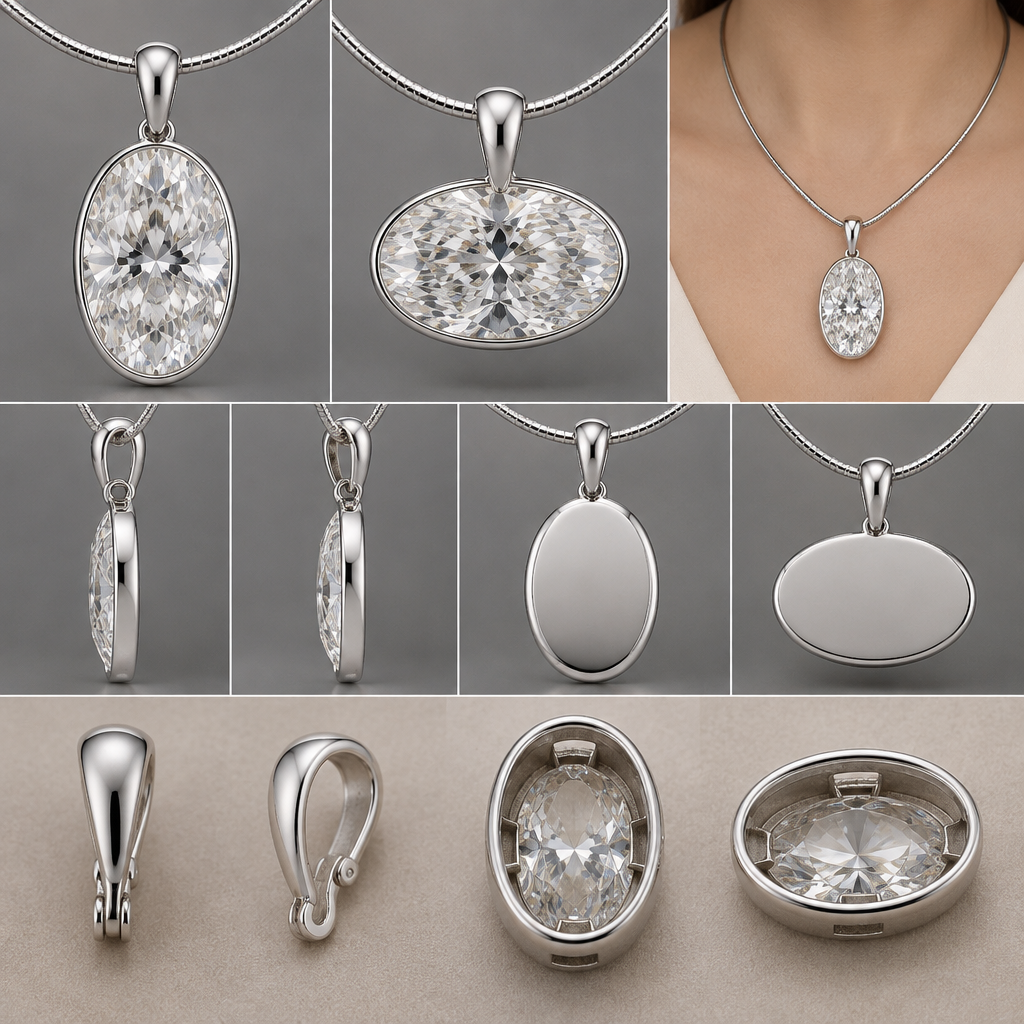
Design Request: 2-Way Convertable Bezel Pendant (North-South & East-West) Main Stone Setting (Bezel): Set the 7.04ct oval diamond in a sleek, ultra-slim plain bezel setting. No visible loops, jump rings, or prongs should be attached to the outer perimeter of the bezel. The entire oval silhouette must remain 100% clean and smooth from all angles. Hidden Dual-Direction Connection System (Inner-Wall Design): To enable both vertical (North-South) and horizontal (East-West) wear with an omega chain, do not attach rings to the outside. Instead, embed recessed internal metal bars (inner-wall bars) inside the back gallery/inner wall at the 12 o'clock position (for vertical wear) and the 3 o'clock position (for horizontal wear). These internal bars must be completely hidden from front, side, and back views. Enhancer Bail (Detachable Clip): Use a plain, highly polished solid white gold teardrop bail (no pavé diamonds or decorative stones). The bottom hook of the bail must directly latch and lock securely onto the hidden internal bars at the back of the bezel. There should be no intermediate O-rings or dangling links. Overall Structure: Ensure the pendant drops slightly below the omega chain with a graceful, feminine movement while keeping a low profile that prevents tilting or flipping.
Keep exploring
More Pendant

A men's pendant. A G4 pendant

Gold chain pendant with a rock crystal pendant

Gold chain pendant with a rock crystal pendant

Gold chain pendant with a rock crystal pendant

A pendant women's earrings with aquamarine and sapphire stones suitable for formal
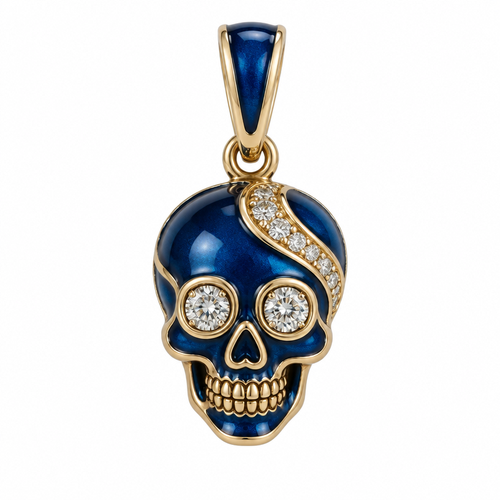
A women's pendant. skull pendant with diamond eyes . in blue
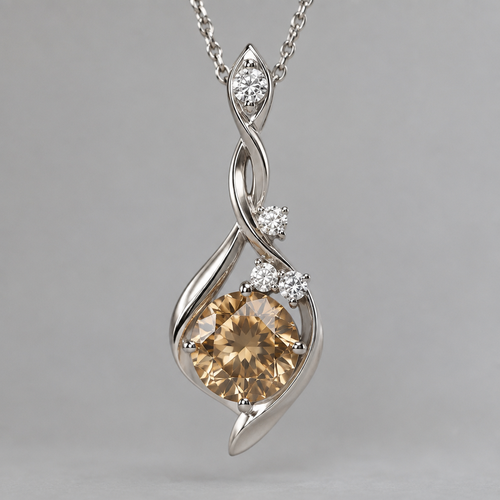
Make me a white gold unique pendant with a 1 carat champagne diamond and two accent white diamonds. I want where the pen...

A pendant women's ring made of gold with pearl stones suitable for formal

Multiple marquise diamond pendant

Simple pendant necklace with the pendant being round and inspired by sacred geometry

Tapered multiple marquise diamonds
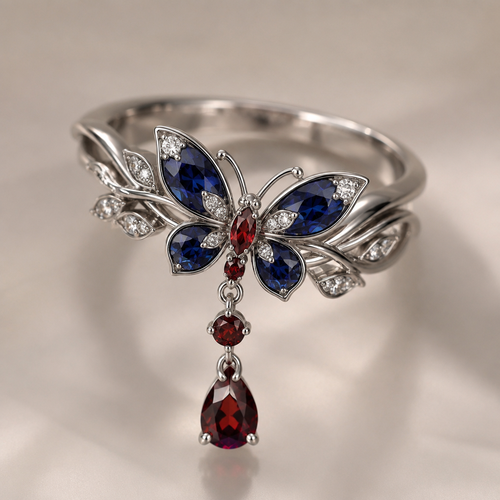
A pendant women's ring made of titanium with sapphire and garnet stones. make a ring with a beautiful butterfly on it

Multiple marquise diamond graduated pendant

A women's pendant. Round pendant with photo inside of it
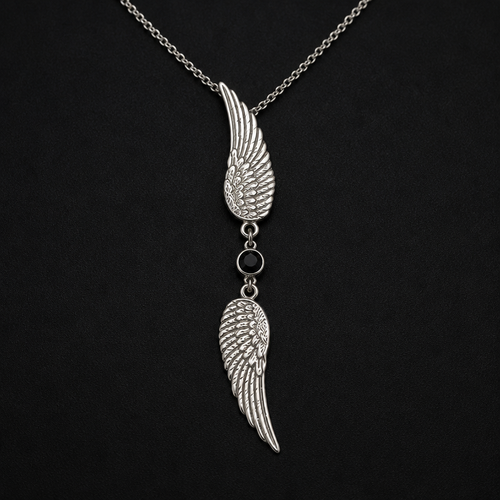
A women's pendant. feather pendant join by round black gemstone with adjustable chain
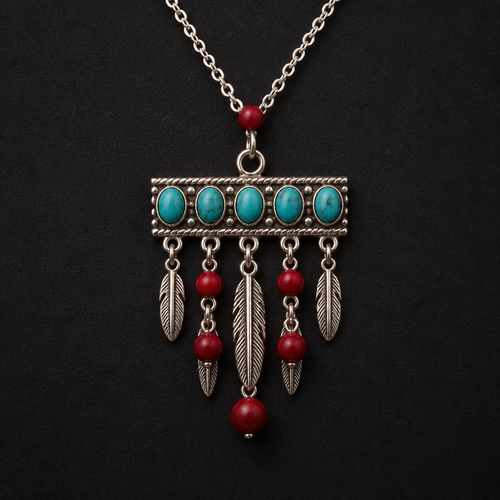
A women's pendant with turquoise stones. red jasper pendant with small feathers at the bottom

Make me a royal blue pendant with some blue lace agate.

Украшение на шею золотая цепочка с подвеской в виде цветка лотоса с жемчугом по центру

A men's pendant made of gold. A delicate yellow gold pendant use bow and arrow

Simple Gold Jangada boat pendant with large sail and bale at the top. Pendant is flat.

Simple Gold Jangada boat pendant with large sail and bale at the top. Pendant is flat.

Simple Gold Jangada boat pendant with large sail and bale at the top. Pendant is flat.

Simple Gold Jangada boat pendant with large sail and bale at the top. Pendant is flat.

Simple Gold Jangada boat pendant with large sail and bale at the top. Pendant is flat.
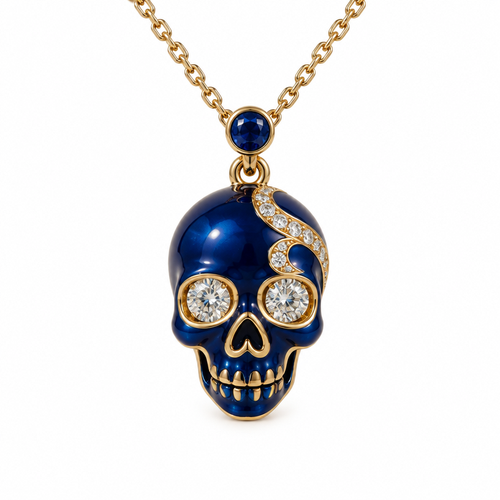
A women's pendant. skull pendant with diamond eyes . in blue
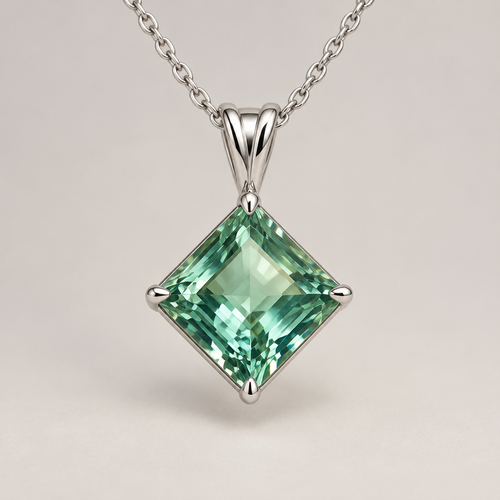
A women's pendant made of white gold. 2.8 ct square in kite shape pendant
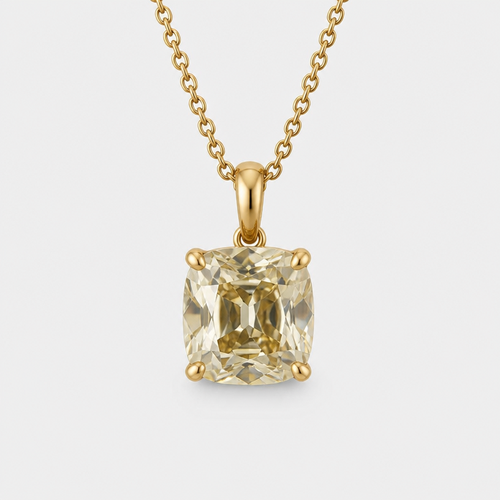
A minimalist women's pendant made of gold with diamond stones. a pendant with 4 gold pronges

A women's pendant. pendant 4 ore 5 butterfly diferența dimension with email color

A women's pendant made of gold with diamond stones. shiv parwati diamond pendant with meenakari
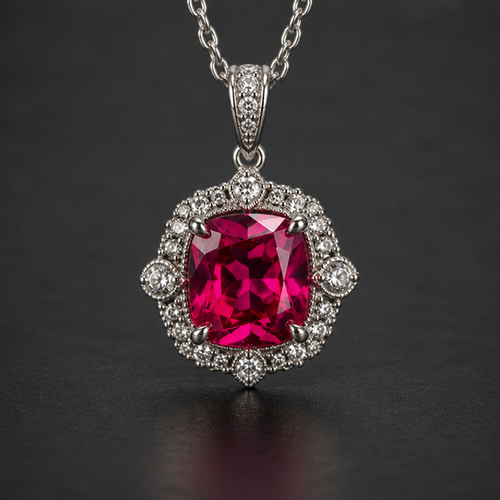
Pendant

pendant

Pendant

Pendant

Pendant

Pendant

Pendant

49ers logo with diamonds and red rubies, with script on the top and bottom of the logo that says FOREVER on top and FAIT...

Тонкая цепочка с золотыми шариками и мелкими розовыми камушками на цепочке есть кулон в форме глаза, зрачок глаза из тем...

Кулон на длинной цепочке. Матовое светлое золото. В цепочке небольшие золотые шарики и розовые камушки и жемчуга. Кулон ...
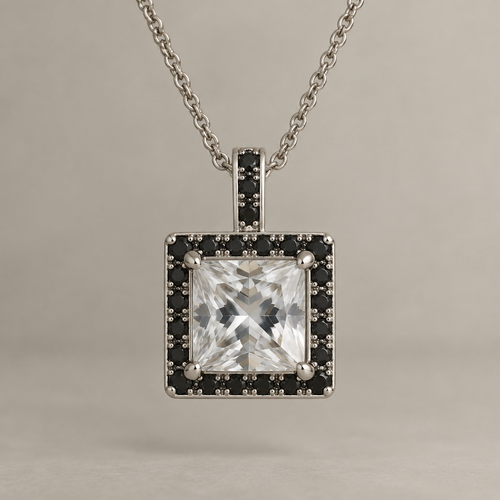
A women's pendant. square pendant with a cntre lab diamond and smalls black diamonds around the edges

A modern women's pendant made of gold. gold Cross pendant, with Dio ti protegga written on it.

Simple Gold Jangada boat pendant with large sail moving left and bale at the top. Pendant is flat.