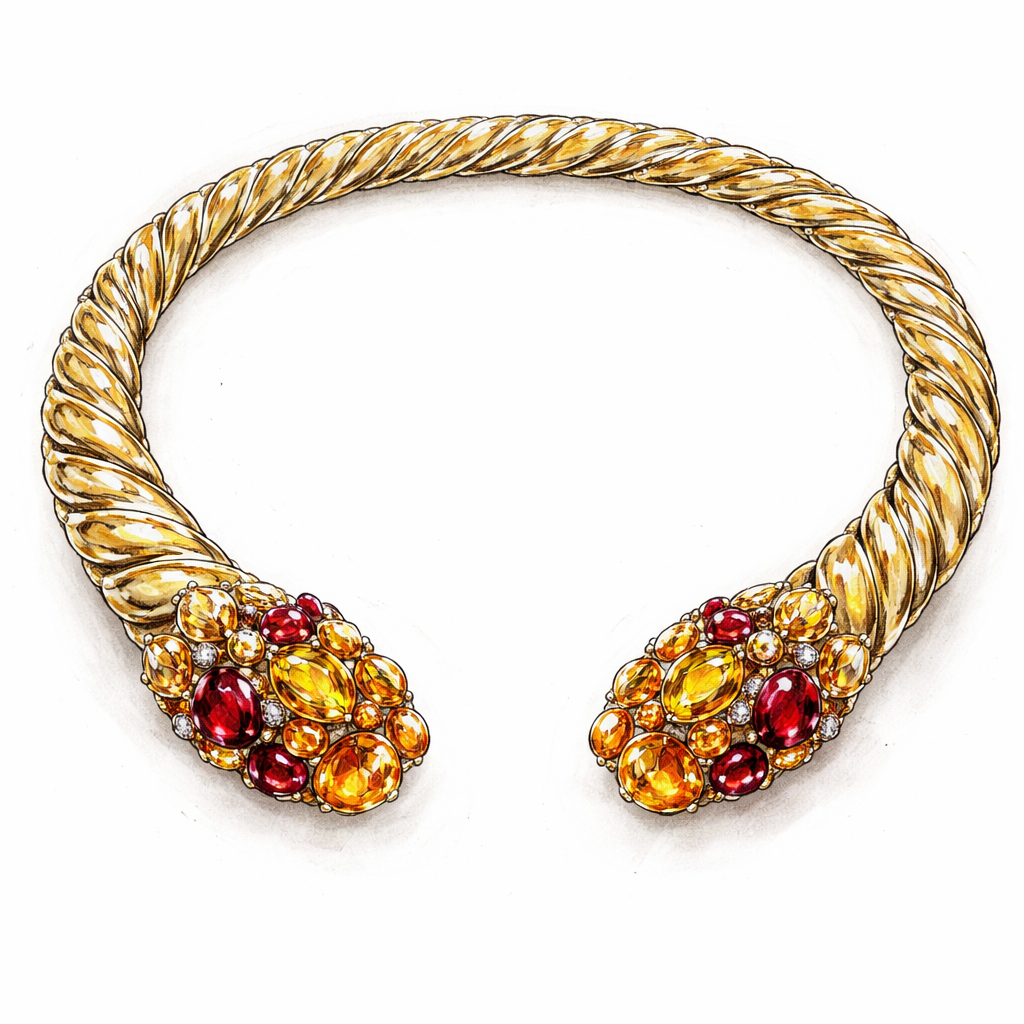
Alright, let’s break it down! First, start by sketching a thick, twisted rope shape—just like a continuous curve with that bendable flow. Next, at each open end, outline slightly larger, tapered sections where the gemstones will sit. Add clusters of citrines and garnets at the ends—think warm reds and oranges. Finally, along the rope’s twists, indicate where you’ll plant diamonds—tiny sparkles following the rope’s spiral. Once you’ve got that on paper, you can have it digitally rendered or refined by a pro jeweler!
Keep exploring
More None
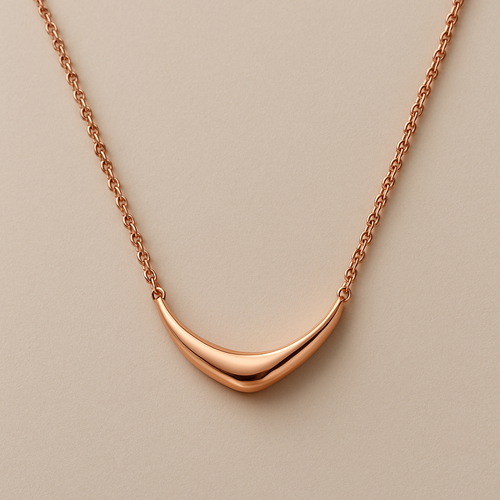
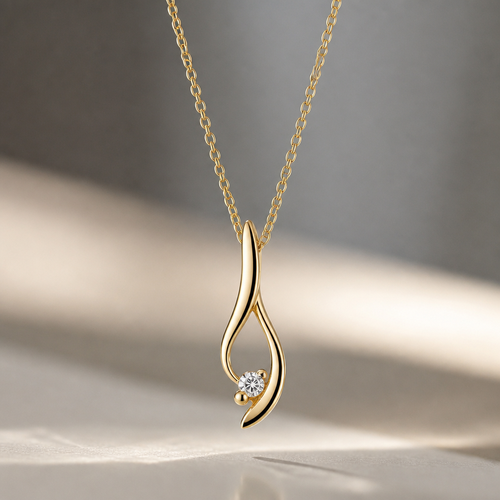
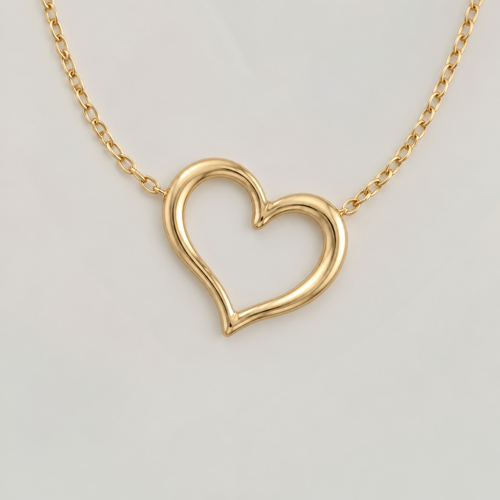
Beautiful rose gold necklace
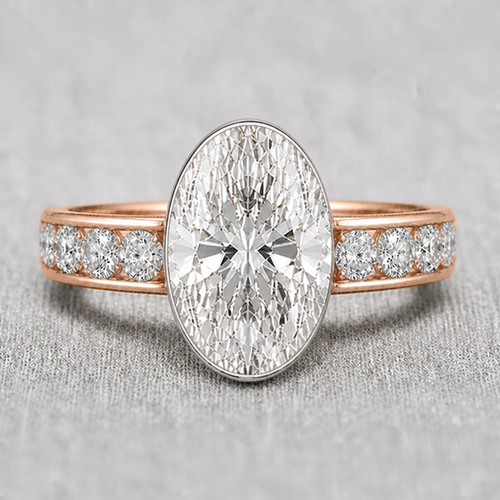
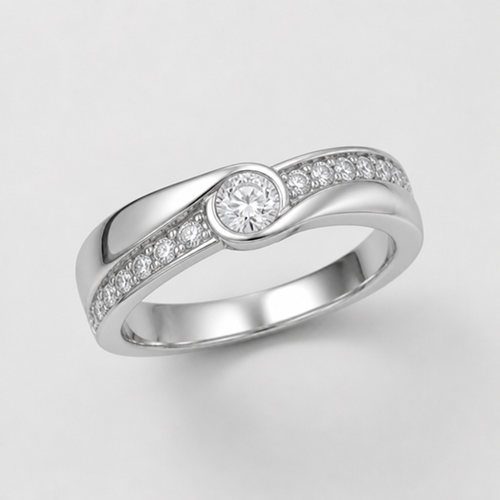
bezel should be thinner to none when it reach the east and west sides of the oval
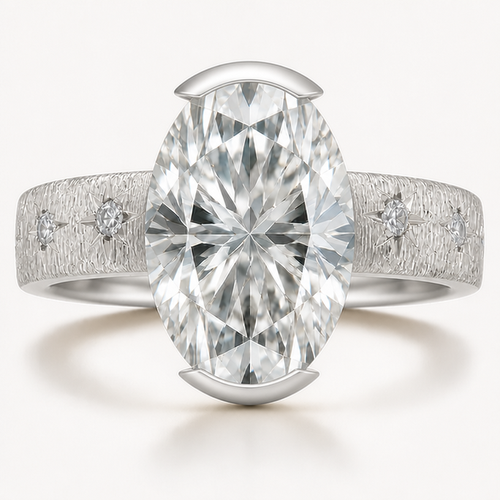
the bezel seamlessly difuse from thick at north south to thin then none east west and in platinum
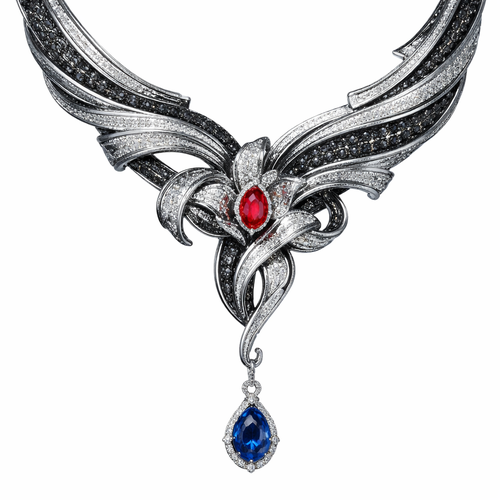
صمّم قطعة مجوهرات أصلية جديدة تمامًا، ليست مستوحاة من أي علامة تجارية موجودة. اسم المجموعة: "أول قطرة". الفكرة: قطعة ت...
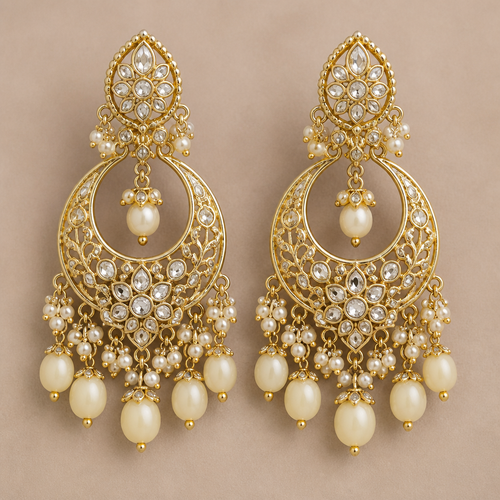
Desi Indian Earings
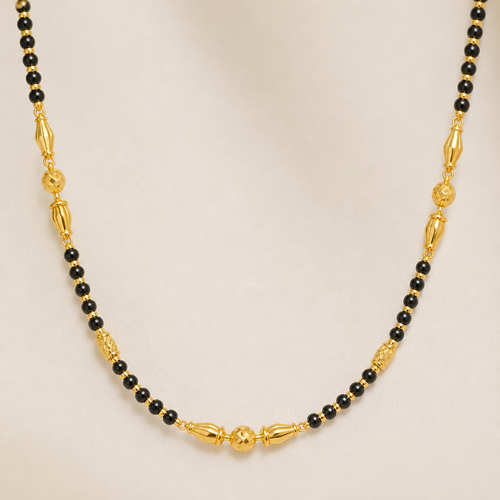
Mangalsutra chain design
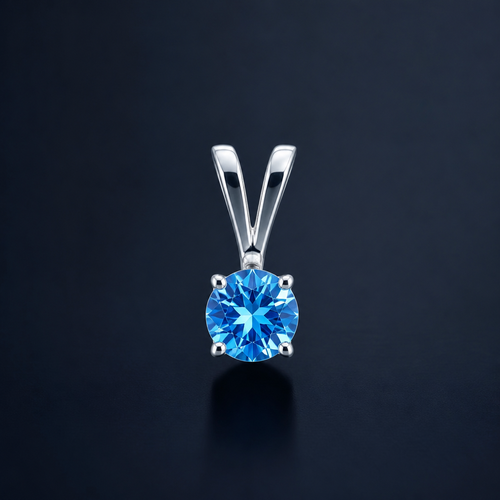
Sharp sparkly blue shine giving small pendant
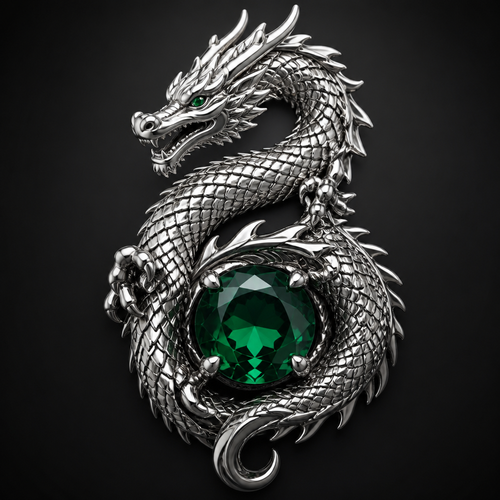
Dragon
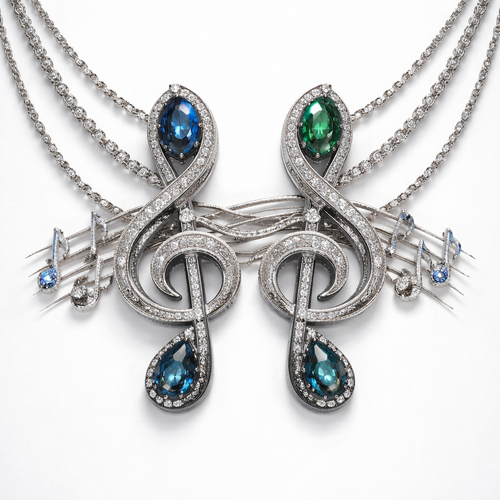
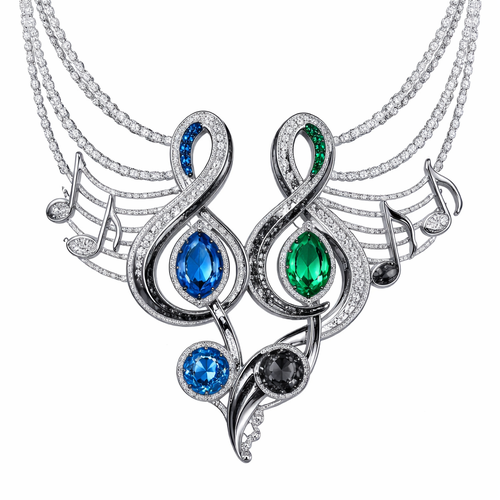
Take two music notes and combine them together the cleft notes combine them together. Give me notes on the side notes on...
The cleft note 2 interlocking cleft notes notehead from the inside, connecting music notes on each side with a small flo...

Nose jewelry
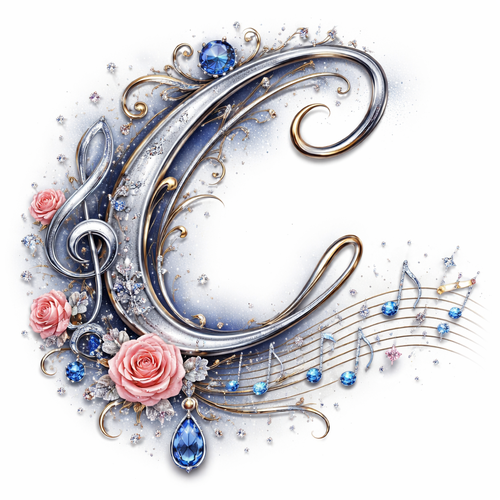
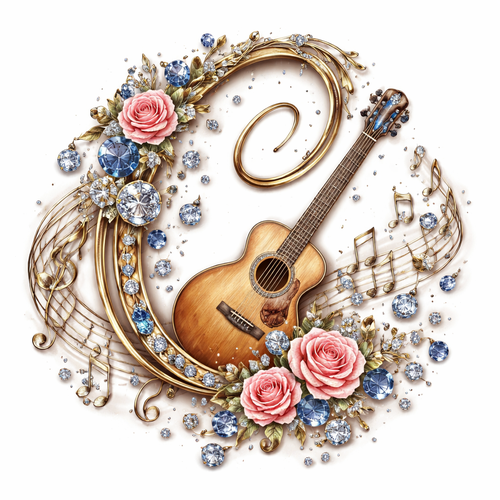
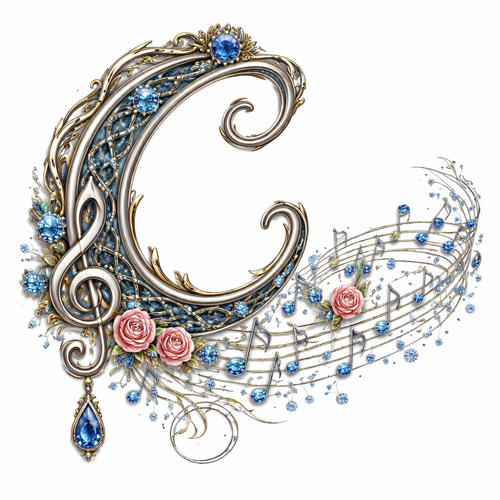
The letter C in calligraphy with the music note and a stream of music notes and small roses diamonds blue sapphires
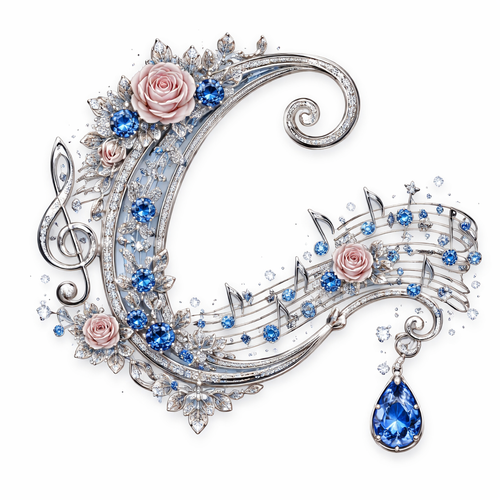
The letter C in calligraphy with the music note and a stream of music notes and small roses diamonds blue sapphires

Take two music notes and combine them together the cleft notes combine them together. Give me notes on the side notes on...
Take two music notes and combine them together the cleft notes combine them together. Give me notes on the side notes on...

Silence music note
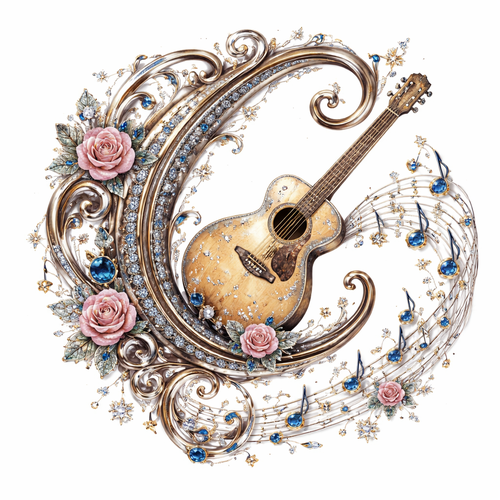
The letter C ave in calligraphy with a guitar with the music note and a stream of music notes and small roses diamonds...
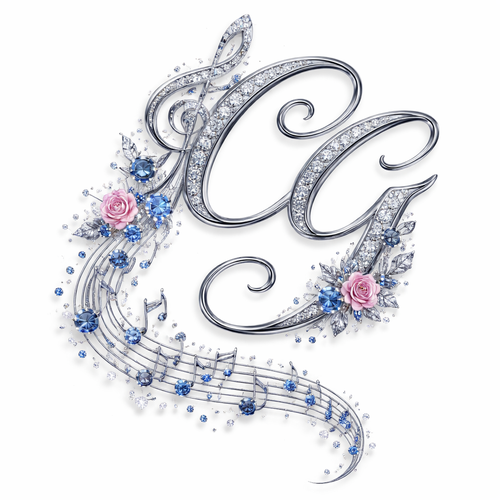
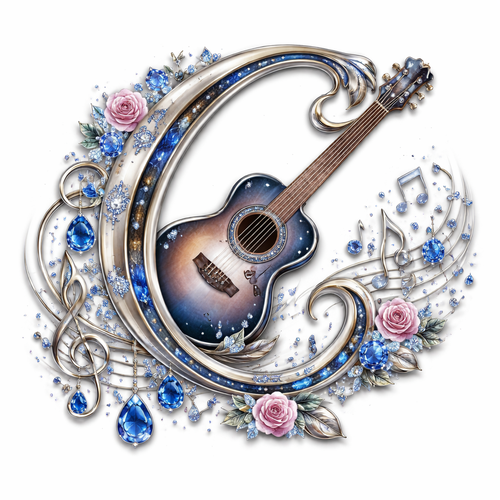
The letter C ave G in calligraphy with the music note and a stream of music notes and small roses diamonds blue sapphir...
The letter C ave in calligraphy with a guitar with the music note and a stream of music notes and small roses diamonds...
The letter C ave in calligraphy with a guitar with the music note and a stream of music notes and small roses diamonds...
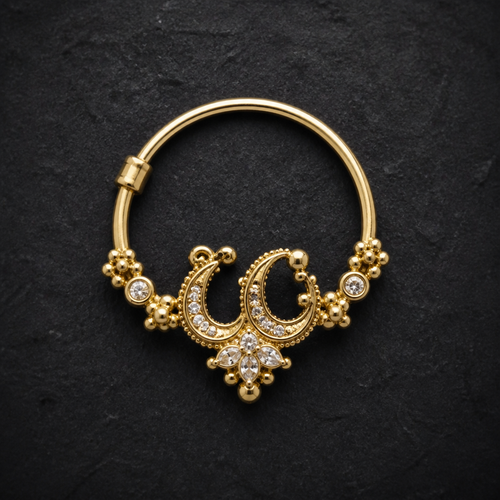
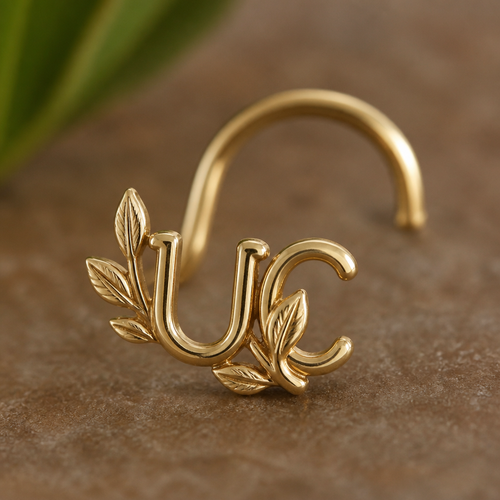
Create a nose ring with UC on it

Create a nose ring with UC on it
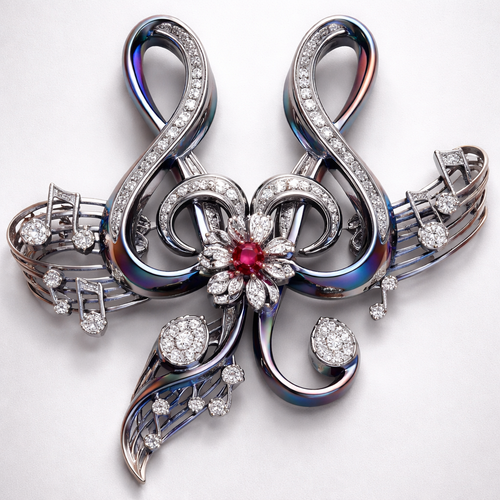
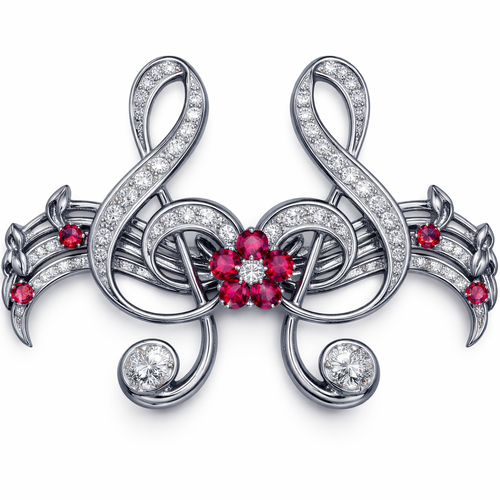
The cleft note 2 interlocking cleft notes from the inside, connecting music notes on each side with a small flower in th...
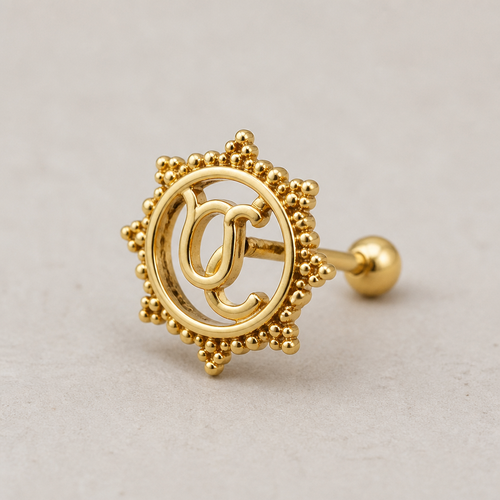
Create a stud nose ring with UC on it

Music note
Create me a nose ring that has uc on it
The letter C in calligraphy with the music note and a stream of music notes and small roses diamonds blue sapphires
Music notes and/or rose
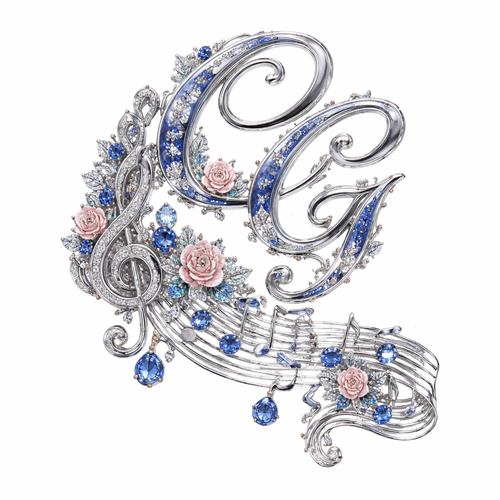
The letter C ave G in calligraphy with the music note and a stream of music notes and small roses diamonds blue sapphir...
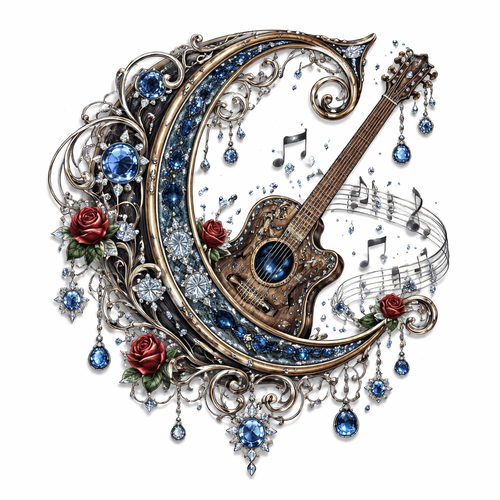
The letter C ave in calligraphy with a guitar with the music note and a stream of music notes and small roses diamonds...
change style to non anniversary
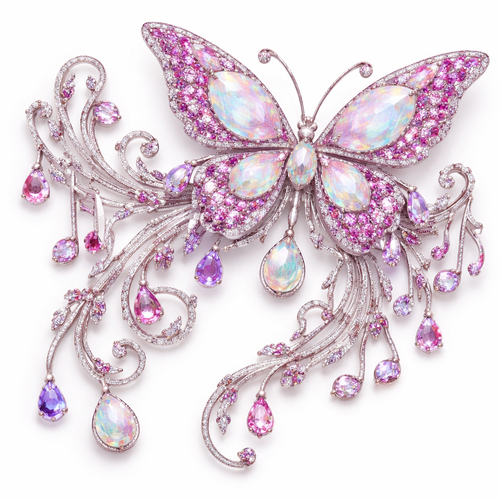
Butterfly with music notes branches gone diamonds pink diamonds purple stones opal
. Refinement: make ut gold and nore simple
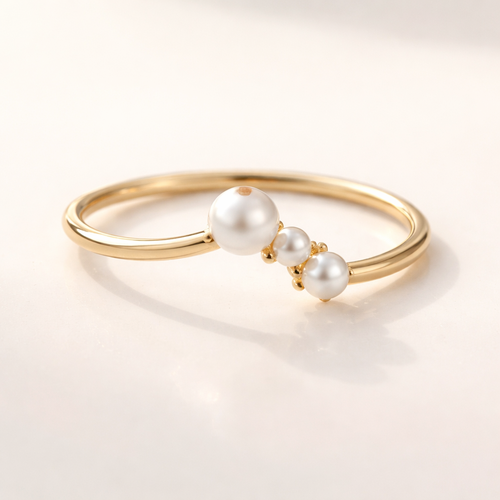
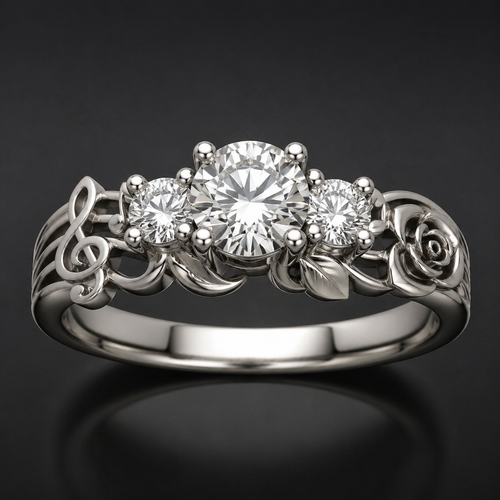
Stylish ring with some notes of precious pearls
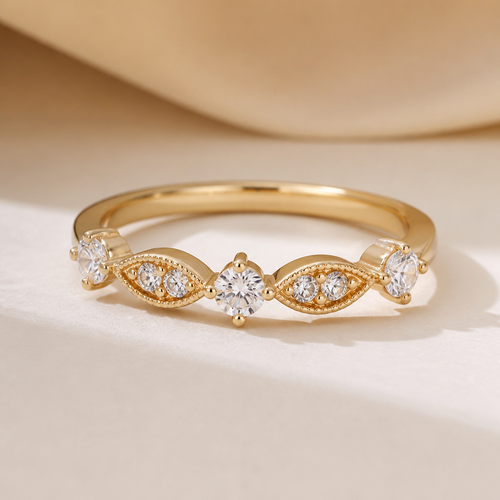
A women's ring. elegant sunbelle non tarnish jewellery
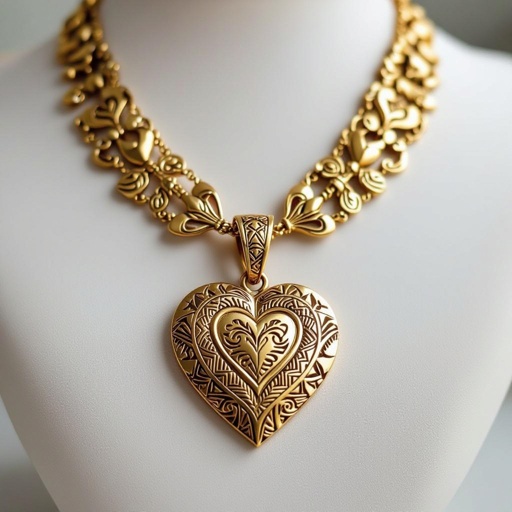
Catena con cuore pendente senza incisioni ma semplice con nome Licia intagli traverso in oro senza pietre con nome incis...
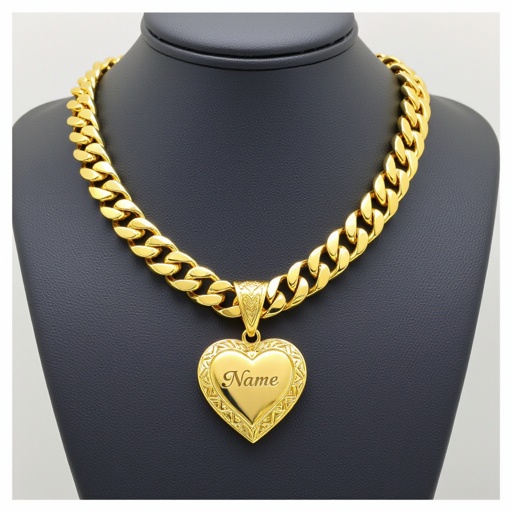
Catena con cuore pendente senza intagli traverso in oro senza pietre con nome inciso con catena di traverso
Two cliff notes, bottom pieces connected in interlocking with each other diamonds titanium, black diamonds, diamond in t...
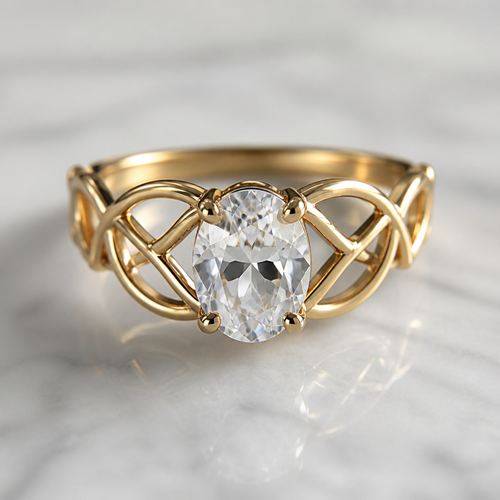
. Refinement: non voglio gemme oltre alla pietra centrale
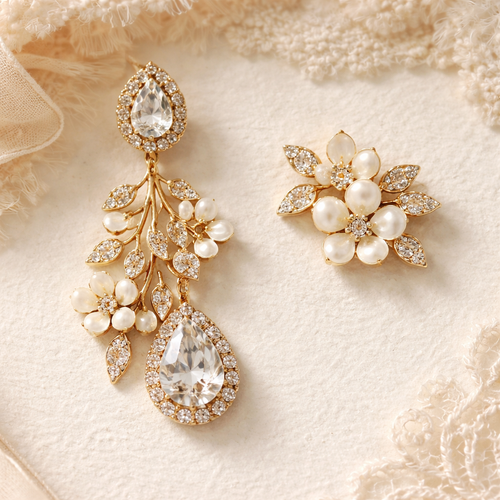
Design gold-colored gemstone earrings, one dangling and one non-dangling, with the dangling part resembling a flower bra...
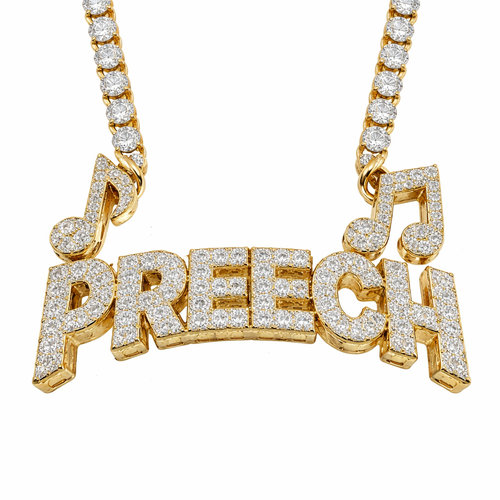
Gold and diamond tennis with diamond tennis preech pendant that curves upward with diamond music notes above the P and H...

Золотая матовая цепочка. Подвеска матовая лотос шесть лепестков нижние лепестки крупнее верхних не круглый . В сердце л...