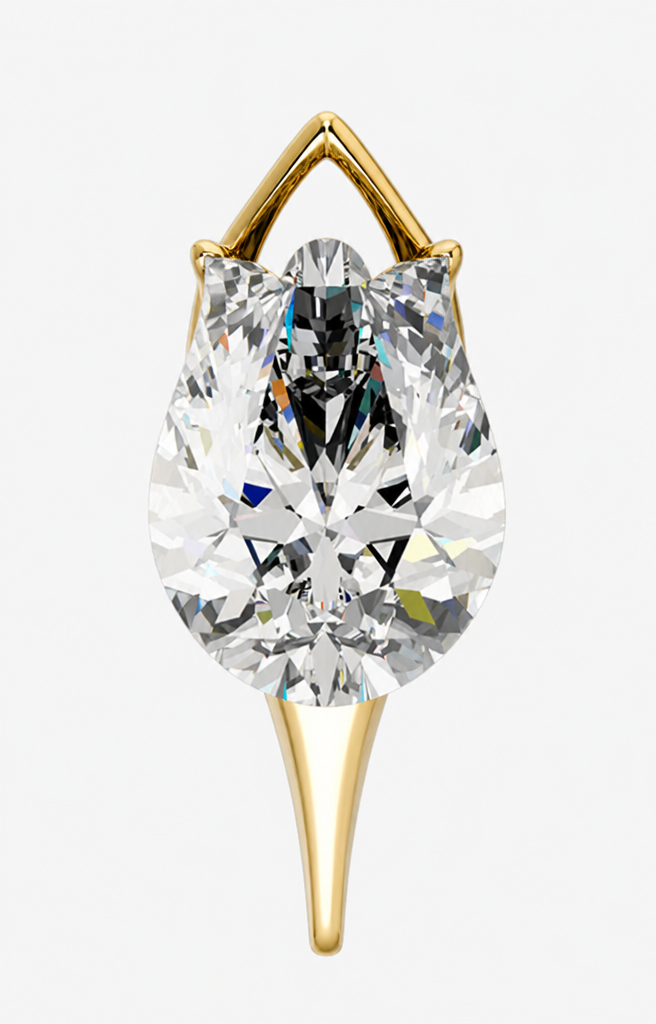
Attached is the exact diamond shape to use — do not substitute a standard pear, marquise, or round brilliant. The top of the stone has three peaks: a small rounded dome at the exact center (the highest point), and two sharper pointed peaks further out at the shoulders, separated from the center by two distinct notches. HARD CONSTRAINT, NON-NEGOTIABLE: nothing may touch, cover, or cross the center dome or the two notches, from any angle. The stone's lower body is fuller and rounded, with NO point anywhere along the bottom edge. Add a gold pendant setting made of exactly TWO separate, discrete prongs — NOT a continuous frame or band around the stone. A visible gap of bare, unset stone must remain along both the left and right edges between the prongs. The two prongs contact the stone only at its two outer pointed shoulder peaks, low and tight, with no decorative balls or knobs. From those two points, the prongs rise inward and close into a single small, tight point directly above the center dome — the gap between that closing point and the dome no taller than roughly one prong's width. Below the stone, the same two prongs continue as a single tapered stem, roughly one-third the stone's height, ending in a smooth rounded tip. One continuous piece of warm yellow gold. Photorealistic product photography, plain light background, front elevation.
Keep exploring
See More
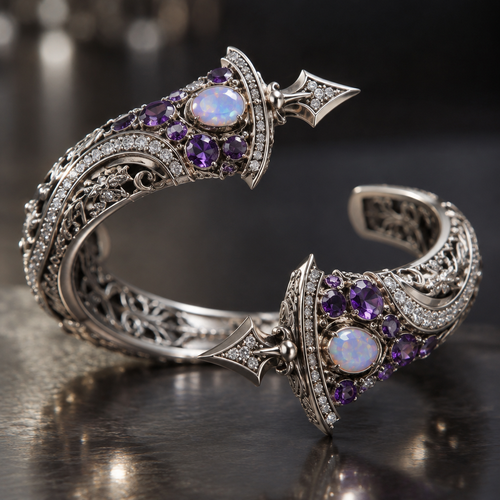
A victorian women's bracelet made of silver with opal and amethyst stones suitable for party. A thick, luxurious Gothic ...
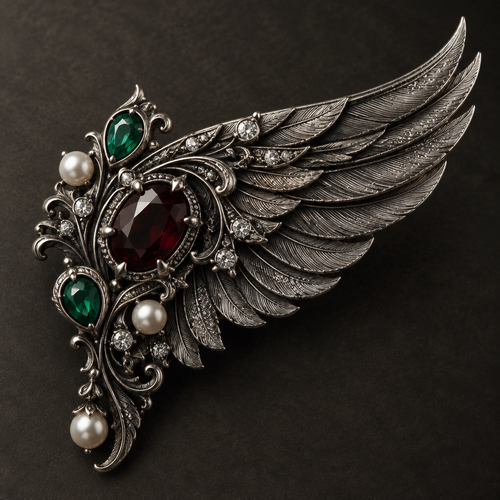
A victorian gothic women's brooch made of silver with diamond and garnet and pearl stones suitable for formal. A Gothic ...
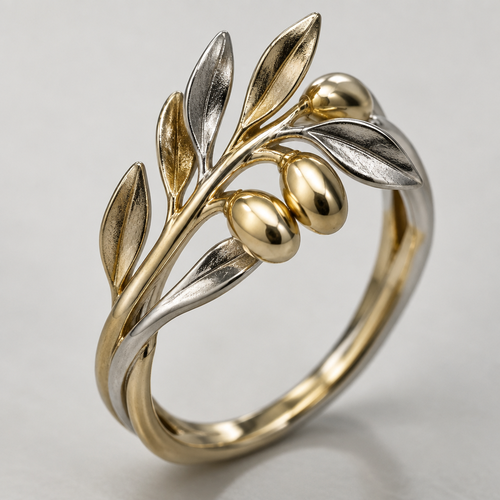
A women's ring. olive tree 3d gold and silver pendant
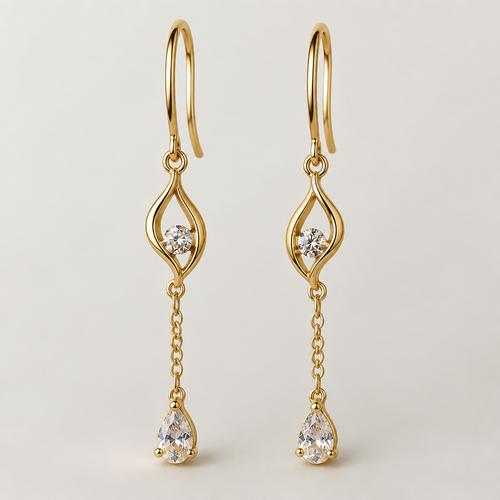
Dangle eaarings, gold, small ston
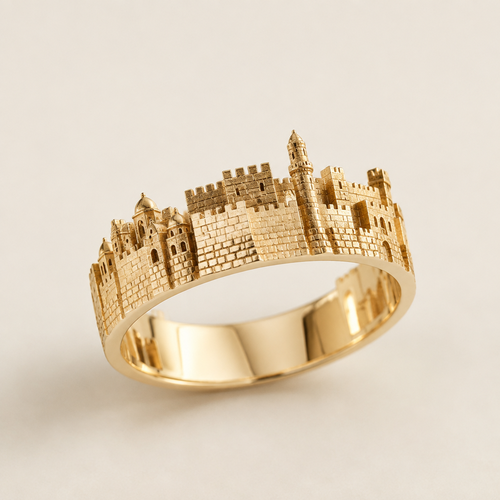
A women's ring. Jerusalem walls ring
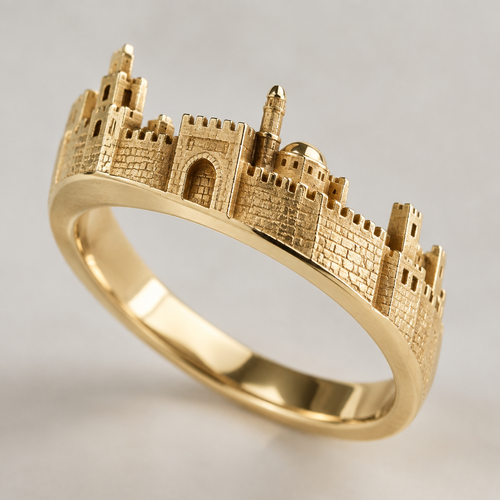
A women's ring. Jerusalem walls ring
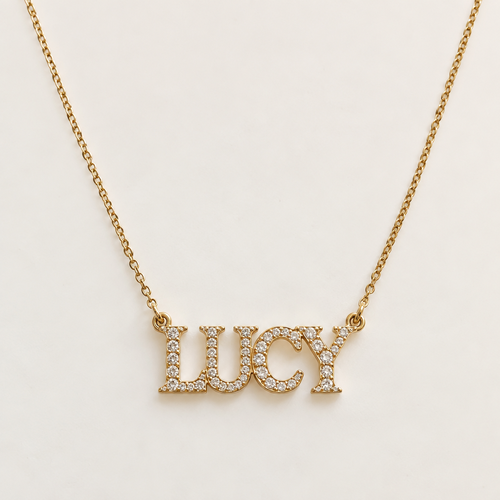
thin necklace with a pendant at the end that says LUCY in nice italian style writing. It is encrusted with some diamonds...
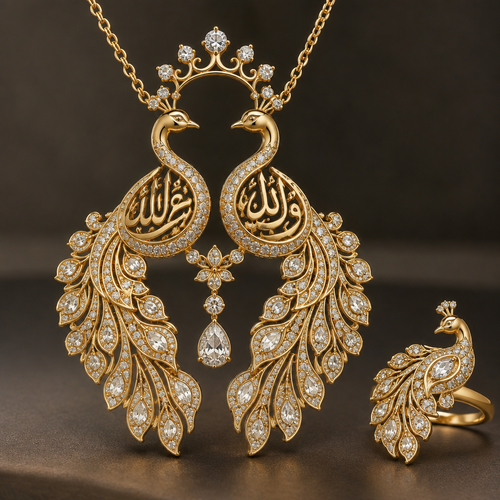
A women's ring, detailed and decorative, moderately ornate. gold pendant necklace, two ornate peacocks facing each other...
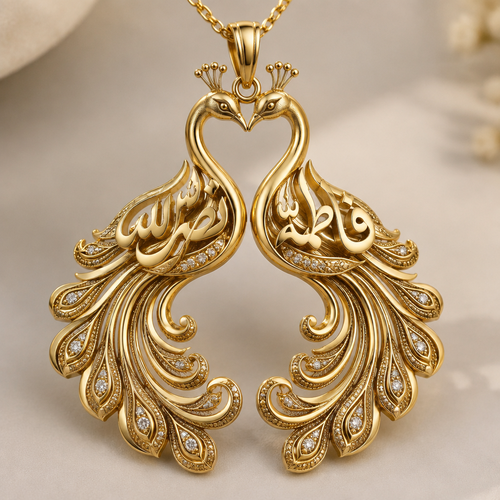
A women's ring, detailed and decorative, moderately ornate. "gold pendant necklace, two peacocks facing each other with ...
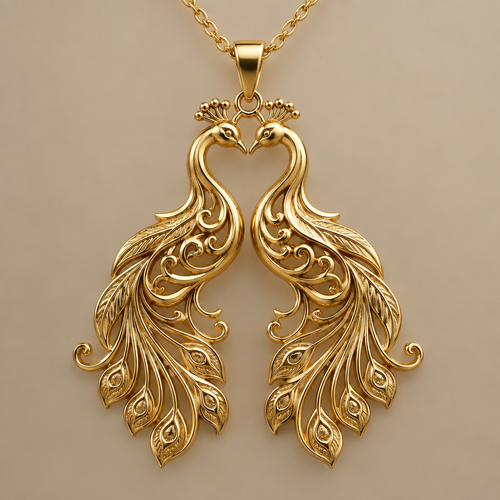
A women's ring, detailed and decorative, moderately ornate. gold pendant necklace, two peacocks facing each other with h...
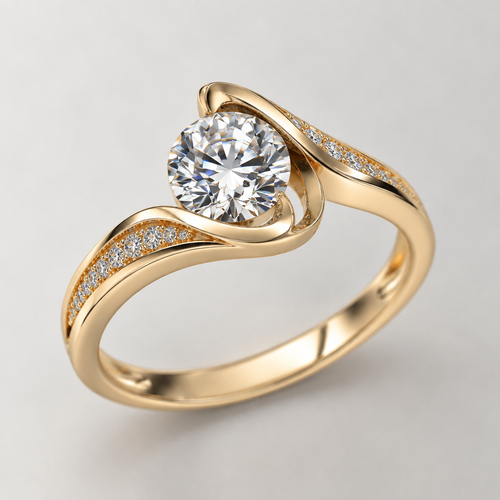
A women's ring
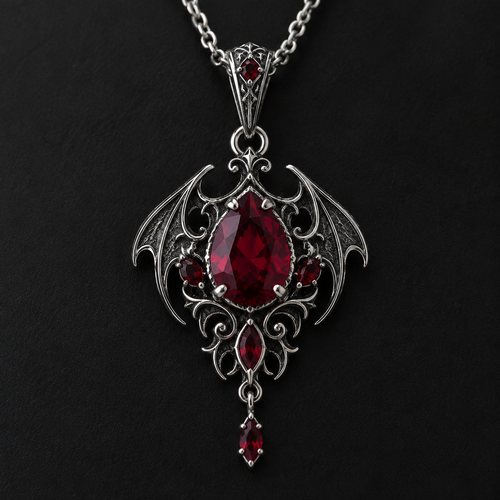
A gothic women's pendant made of silver with ruby stones suitable for birthday
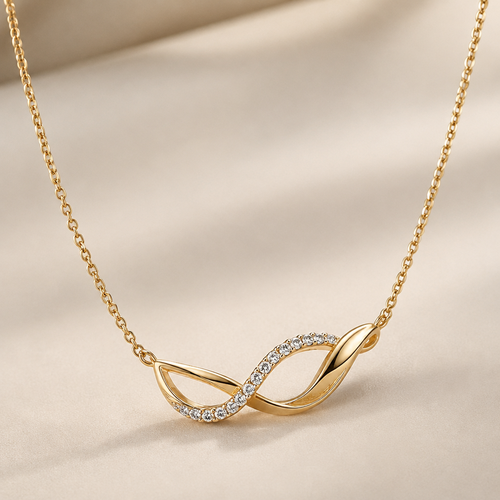
A women's necklace
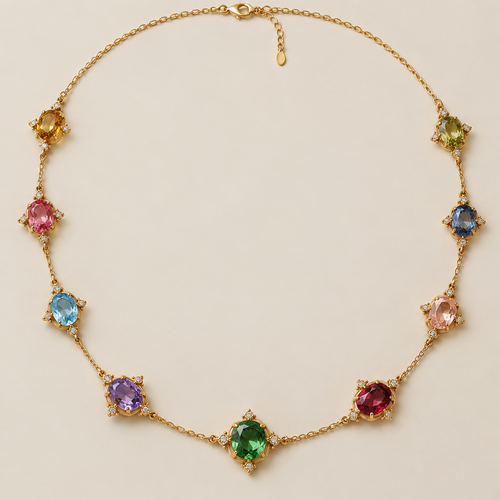
A minimalist women's necklace made of gold with topaz stones, highly ornate, intricate and elaborate, richly detailed. r...
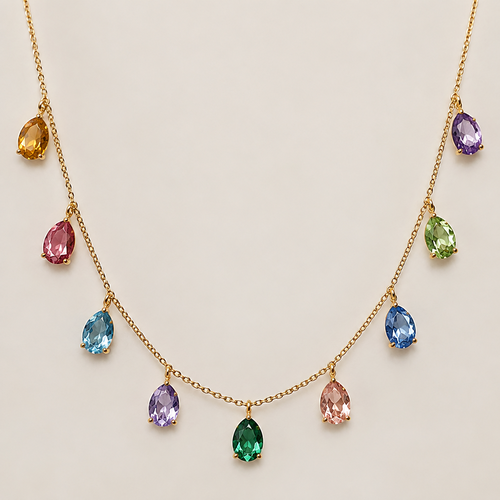
A minimalist women's necklace made of gold with topaz stones, detailed and decorative, moderately ornate. realizza una c...
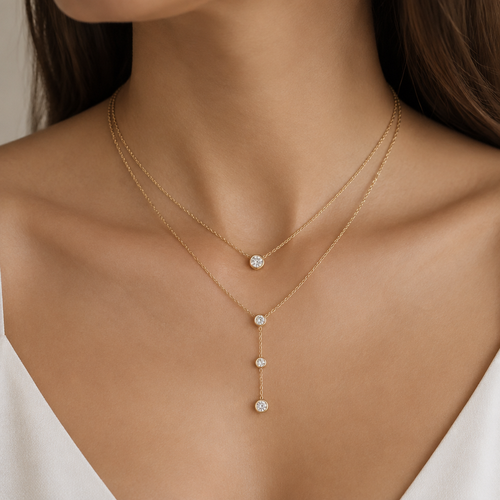
A minimalist women's necklace made of gold with diamond stones. collana a due fili, uno poi corro e l'altro poi lo lungo...
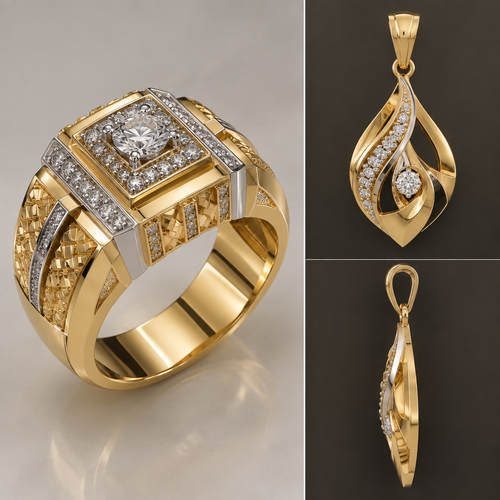
A men's ring suitable for anniversary, detailed and decorative, moderately ornate. Ek pendal ka design banaaiye do gram ...
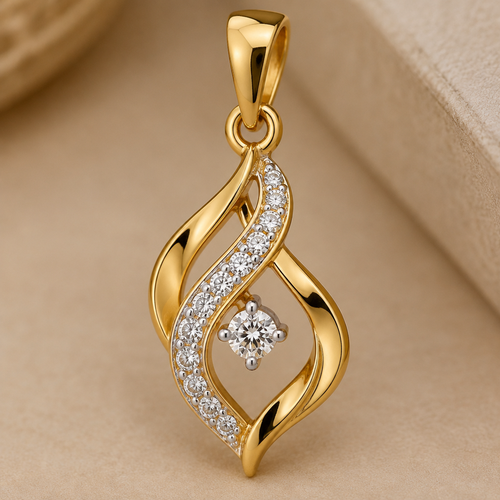
A women's ring. Ek pendal ka design banaaiye do gram ka 500 militant banaaiye
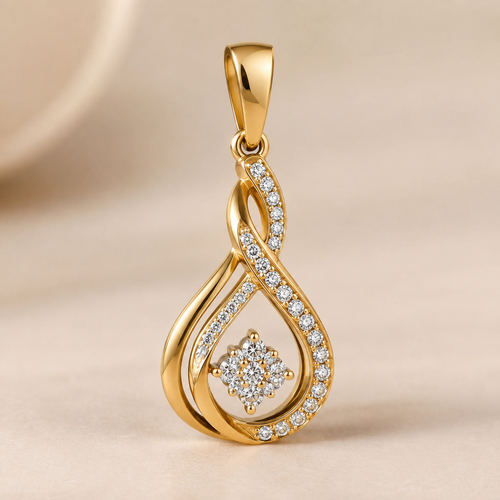
A women's ring. Ek pendal ka design banaaiye do gram ka
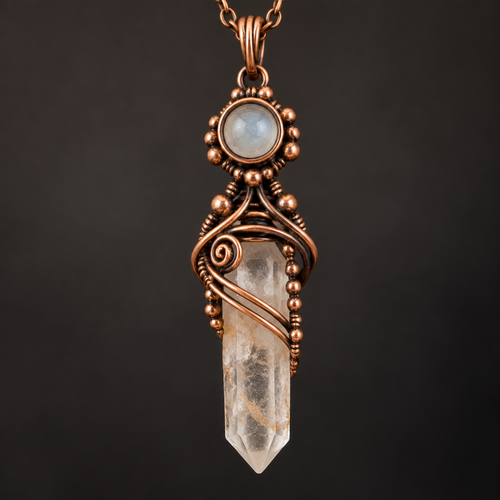
A beaded women's pendant made of copper, detailed and decorative, moderately ornate. wire wrapped raw quarts point with ...
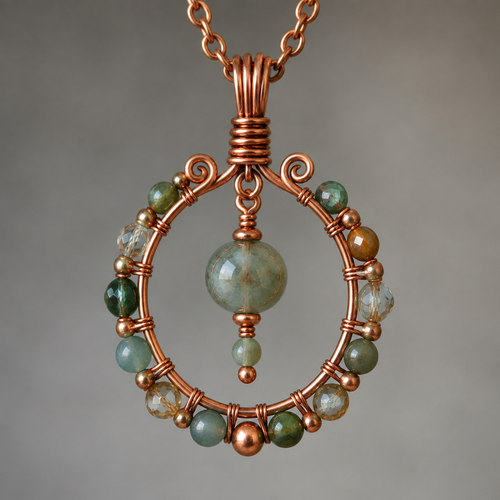
A beaded women's pendant made of copper. wire wraped ring with beads
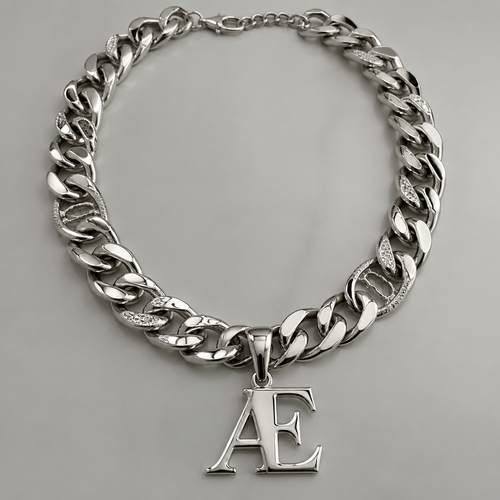
A modern women's necklace made of silver. A thick, 2 cm Cuban-style chain—though the design shouldn't be perfectly unifo...
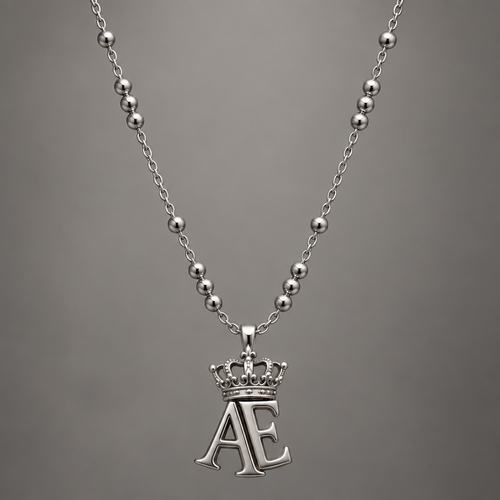
A modern women's necklace made of silver. I would like a rosary-style chain, but with a unique design. I want the pendan...
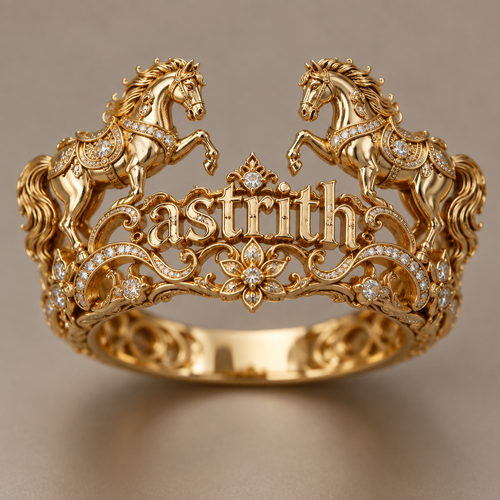
A asian-inspired women's ring made of gold with diamond stones suitable for birthday, highly ornate, intricate and elabo...
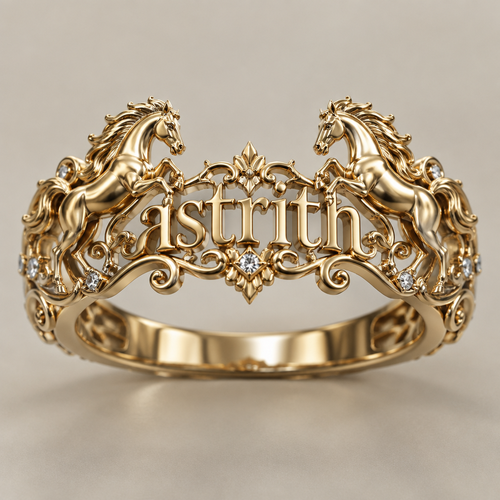
A women's ring, highly ornate, intricate and elaborate, richly detailed. quiero que el anillo tenga el nombre astrith en...
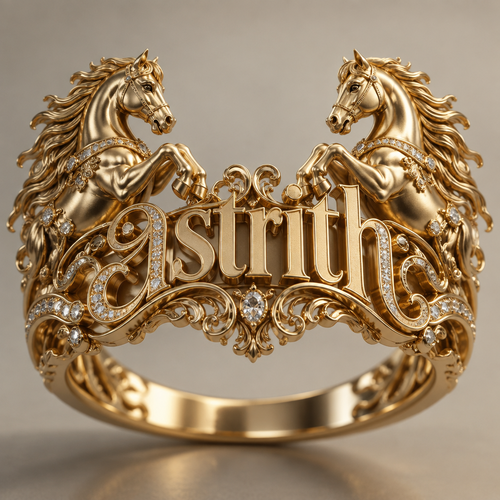
A women's ring, highly ornate, intricate and elaborate, richly detailed. quiero que el anillo tenga el nombre astrith en...
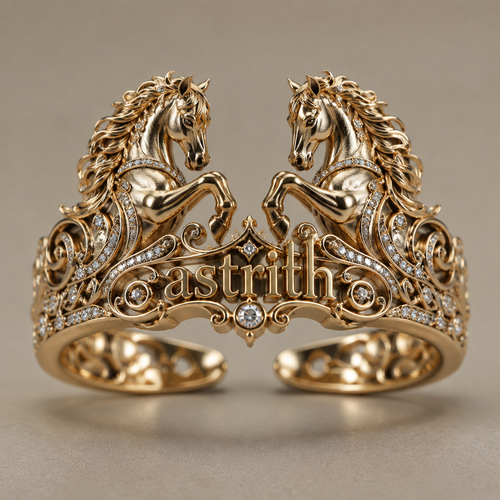
A women's ring, highly ornate, intricate and elaborate, richly detailed. quiero que el anillo tenga el nombre astrith en...
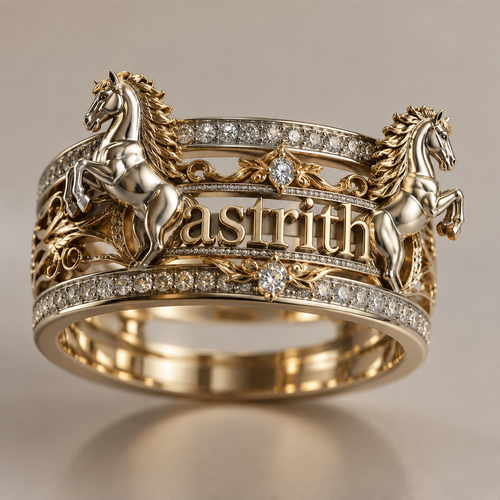
A women's ring, highly ornate, intricate and elaborate, richly detailed. quiero que el anillo tenga el nombre astrith en...
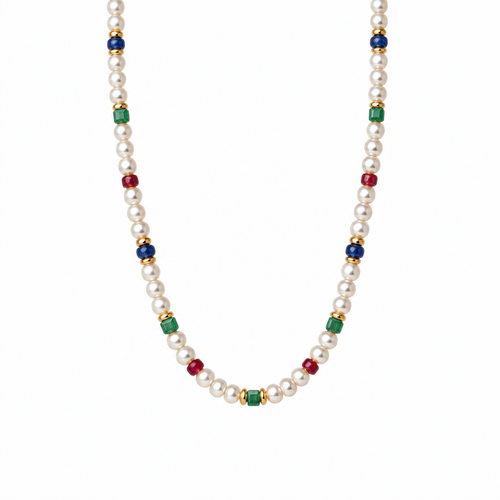
Restyled: make it with accent in smooth blue sapphire rondelle beads , ruby smooth rondelle beads, gold donuts spacer, g...
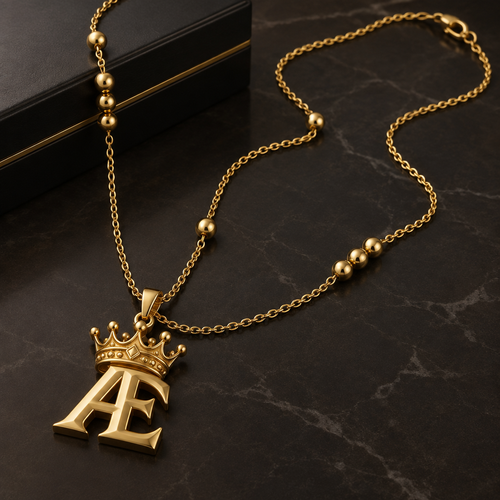
A modern men's ring made of gold. I would like a rosary-style chain, but a unique one. I want the pendant to feature two...
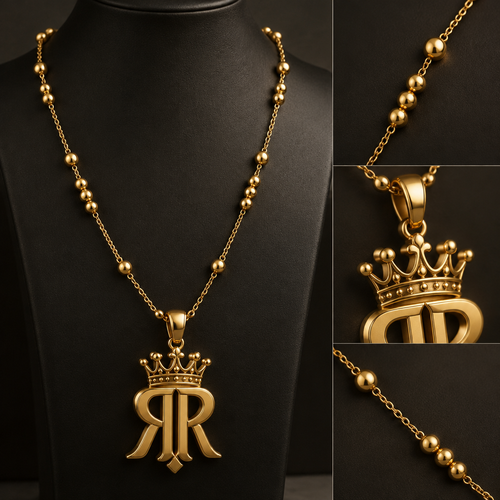
A modern men's ring made of gold. I would like a rosary-style chain, but a unique one. I want the pendant to feature two...
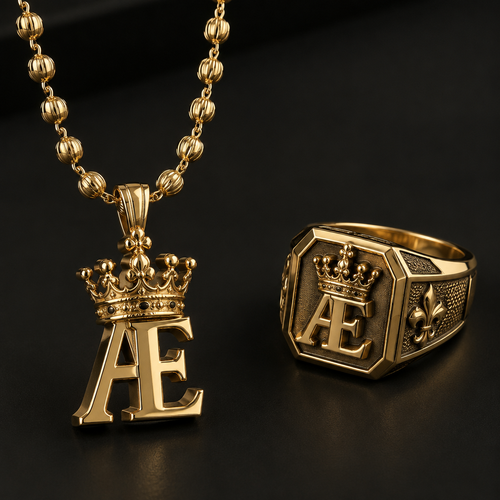
A modern men's ring made of gold. I would like a rosary-style chain, but a unique one, and I want the pendant to feature...
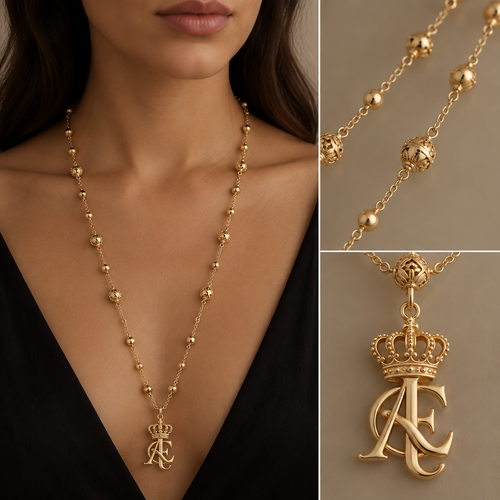
A modern women's necklace made of gold, detailed and decorative, moderately ornate. I want a rosary-style necklace, but ...
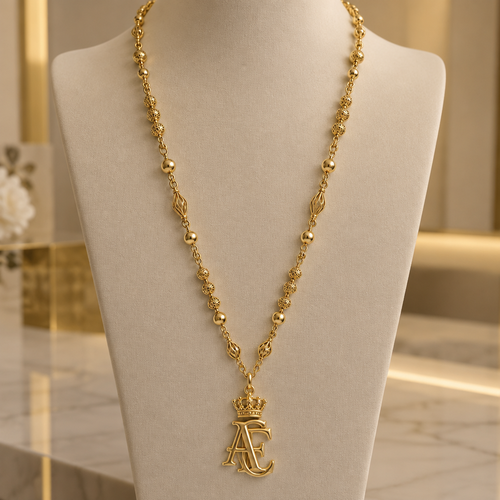
A modern women's necklace made of gold, detailed and decorative, moderately ornate. I want a rosary-style necklace, but ...
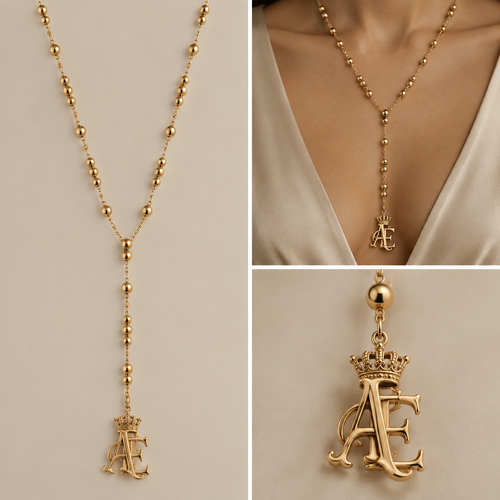
A modern women's necklace made of gold. I would like a rosary-style necklace, but instead of a cross at the end, I want ...
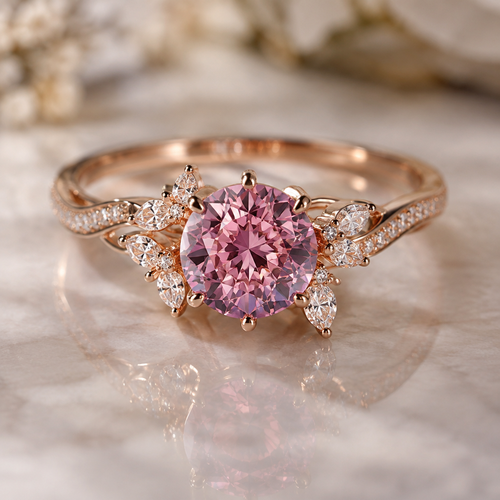
A bespoke/custom women's ring with garnet stones. Elegant but striking piece, lavender to pastel pink color-change garne...
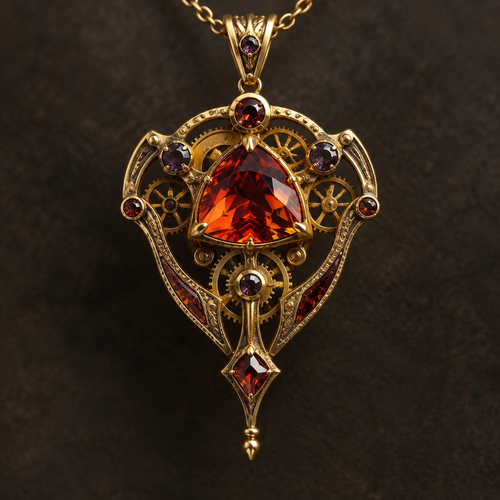
A steampunk women's pendant made of gold with garnet stones. Statement piece, fiery red ombre fade to striking orange tr...
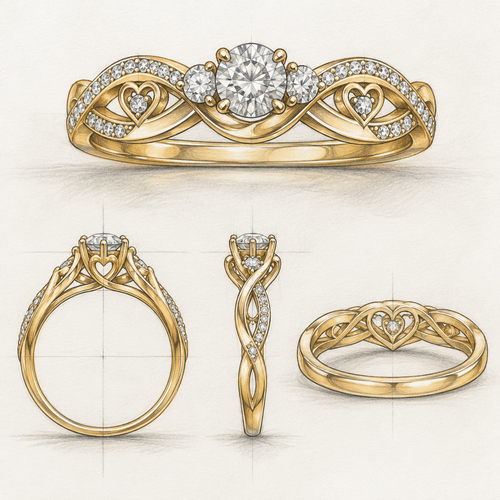
A bespoke/custom women's ring made of gold with diamond stones suitable for anniversary, detailed and decorative, modera...
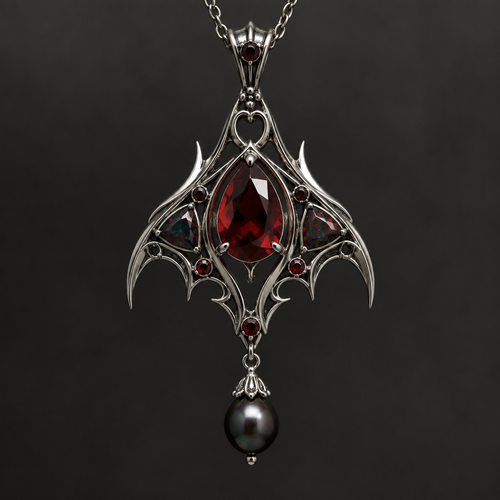
A gothic women's pendant made of silver with garnet stones. Statement piece, dark red fat pear cut, 1.2ct garnet as cent...
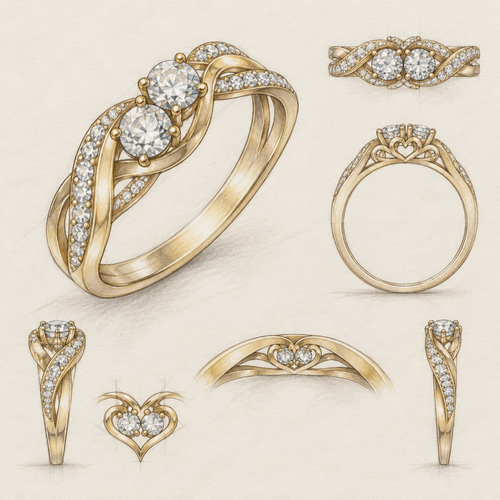
A bespoke/custom women's ring made of gold with diamond stones suitable for anniversary, detailed and decorative, modera...
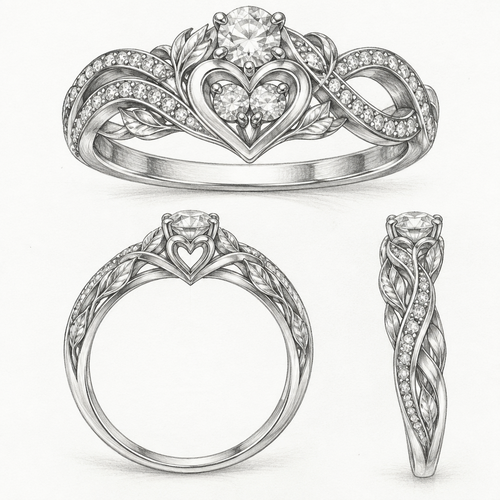
A bespoke/custom women's ring made of silver suitable for anniversary, highly ornate, intricate and elaborate, richly de...
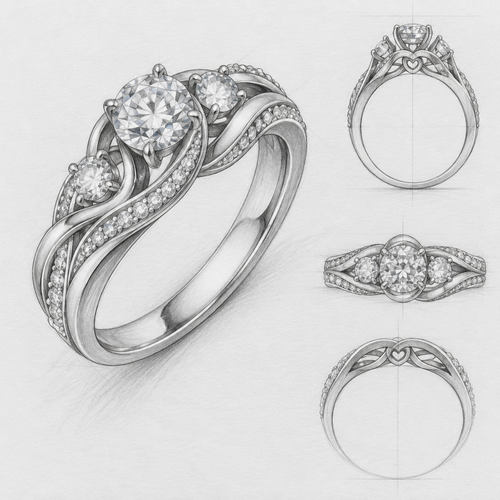
A women's ring, highly ornate, intricate and elaborate, richly detailed. crea un diseño a lapis un anillo elegante de m...